Sharing another user's post on Instagram—whether to your Story, Feed, or Reels—is a core part of building a vibrant account. You've got a few ways to do it.
The quickest options are the built-in 'Share to Story' feature or Instagram's own 'Repost' function for the feed, both of which handle creator credit automatically. For more control, you can go the manual route with a screenshot or use a third-party app, but you'll need to be extra careful with attribution.
Your Guide to Reposting on Instagram

If you think reposting is just a shortcut to fill your content calendar, you're missing the bigger picture. When done thoughtfully, sharing content from others is a powerful way to build community, generate social proof, and keep your feed fresh—all without having to create every single post from scratch. This is a game-changer for busy small business owners and solopreneurs looking to improve their productivity.
When you feature posts from your followers, often called user-generated content (UGC), you're doing more than just getting a free post. You're putting a spotlight on your customers, making them feel seen and appreciated.
That simple act of recognition builds a much stronger, more engaged community. It encourages others to tag your brand in their own posts, hoping for a feature. This creates a positive loop of real, authentic content showing your products or services out in the wild.
Why Reposting Is a Smart Business Strategy
Knowing how to repost an Instagram post is less about the technical steps and more about understanding the strategic value it brings. When you get it right, reposting helps you:
- Build Social Proof: A happy customer showing off your product is often way more convincing than a polished ad.
- Save Time and Resources: Curating great content from others helps you stay consistent without the constant pressure to create.
- Strengthen Community Bonds: Featuring your followers turns them from a passive audience into active participants in your brand's journey.
- Expand Your Reach: When you repost and properly credit the original creator, you get in front of their audience, too, which can bring new eyes to your profile.
Understanding how reposting fits into your larger content repurposing strategies helps you get the most out of every post. It’s not about finding filler; it's about amplifying messages that already resonate and reinforcing what makes your brand great.
A Quick Guide to Reposting Methods
Before we get into the step-by-step details, it’s good to have a high-level view of the different ways you can share content on Instagram. Each method is built for a different purpose, from a quick share on your Story to a permanent feature on your feed.
Here’s a quick comparison of the different ways you can repost content on Instagram, including the best use case for each.
Four Methods to Repost Instagram Content
| Method | Where It Appears | Best For | Attribution |
|---|---|---|---|
| Share to Story | Your Instagram Story (24 hours) | Quick, informal shares and shout-outs | Automatic sticker linking to the original post |
| Native Repost | Your Main Feed & Reposts Tab | Permanent features with clear, official credit | Automatic and prominently displayed |
| Manual Screenshot | Your Main Feed or Reels | Full control over the visual and caption | Manual: Requires tagging in both the caption and photo |
| Third-Party App | Your Main Feed or Reels | Streamlining downloads and customizing the repost look | Often a small watermark, but still requires manual tagging |
Think of these as different tools in your social media toolkit. Each one has its place, and knowing which to use will make your reposting strategy much more effective. Now, let’s get into the specifics of how to use each one.
The Golden Rules of Reposting: Permission and Credit
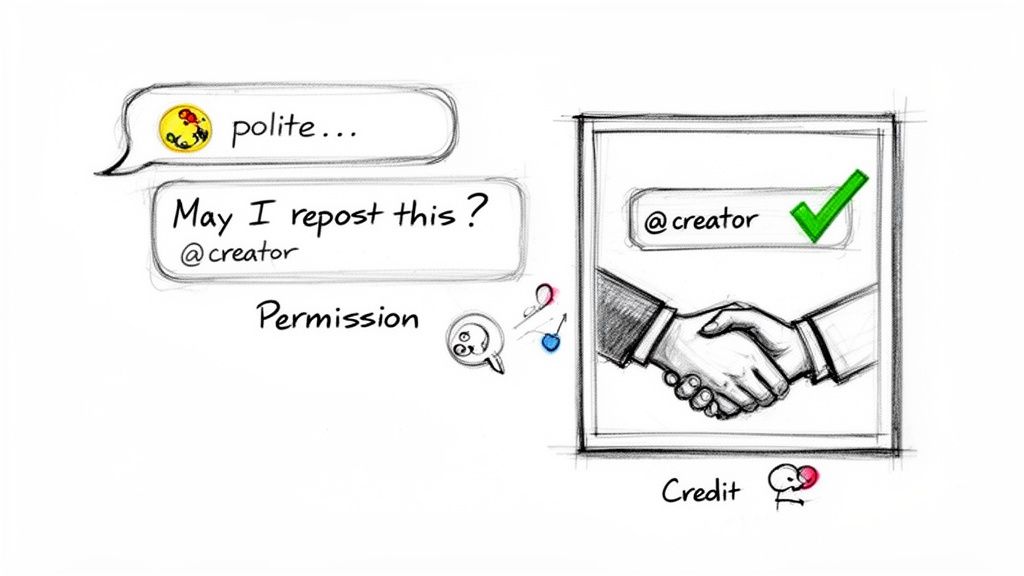
Before we get into the nuts and bolts of how to repost on Instagram, we need to cover the most important part of the whole process: permission and credit. Getting this right isn't just about avoiding trouble; it’s about being a good citizen on the platform, respecting other creators, and building a genuine community.
Think of it like this: every post is someone's creative work. You wouldn't grab a photographer’s photo for an ad without asking, right? The same logic applies here. This is especially true when you manually repost to your Feed, making that content a permanent part of your brand's grid.
While Instagram's built-in "Share to Story" feature handles attribution for you, taking a moment to ask for permission before a Feed post is a pro move. It sidesteps any copyright headaches and, more importantly, shows you actually value the work that went into the original post.
How to Ask for Permission Without Being Awkward
Asking for permission doesn't need to be a big, formal thing. A simple, polite message is all it takes. The trick is to be specific about what you liked and clear about what you want to do.
Productivity Tip: Create a template for your permission requests and save it in your phone’s keyboard shortcuts or a notes app. This saves you from retyping the same message every time.
A quick DM or even a public comment usually does the job. Here are a couple of examples you can adapt:
For a great customer photo (DM): "Hi [Username]! We absolutely love this photo of [your product]. The way you captured it is fantastic! Would it be okay if we featured it on our feed? We'll give you full credit in the caption and tag, of course!"
For an inspiring post in your niche (Comment): "This is such a great post, [Username]! This point about [specific detail] really resonated with us. We'd love to share this with our audience. Would you be open to us reposting it on our feed with full credit?"
These scripts are respectful, get straight to the point, and make it easy for the creator to say yes. Once you have that green light, you’re ready for the next crucial part.
Giving Credit the Right Way
Getting a "yes" is only half of it. How you give credit is just as important. Bad attribution makes a creator feel used instead of celebrated, which completely defeats the purpose. Just tagging an account in a huge block of hashtags simply doesn't cut it.
Key Takeaway: Excellent attribution makes the original creator impossible to miss. Your goal is to be so clear that your repost sends traffic and appreciation directly back to their profile. That's a true win-win.
For every manual repost to your Feed, there are two non-negotiable steps.
1. Credit in the Caption
Start your caption with the credit. Don't bury it at the bottom. Putting it right at the top is a sign of respect and ensures it's the very first thing people read.
- Great Example: "An incredible insight from @username! We couldn't agree more. 📸: @username"
- Poor Example: A long caption that ends with the credit hidden among 20 other hashtags.
2. Tag in the Photo
On top of the caption credit, always use the "Tag People" feature to tag the creator directly on the image or video. This sends them a notification and adds your post to the "Tagged" tab on their profile, creating a permanent link back to your feature and giving them extra visibility.
When you combine these two methods, you're not just covering your bases—you're turning a simple repost into a powerful relationship-building tool.
How to Repost an Instagram Post to Your Story
Sharing a post to your Instagram Story is probably the quickest way to repost content on the platform. It's a low-effort, high-impact move for showcasing user-generated content, giving a nod to a partner brand, or just passing along something you found interesting.
But there’s a big difference between a quick share and a smart one. Just hitting the paper airplane icon is a missed opportunity. The real magic happens when you turn that simple share into a branded, interactive moment for your audience. Think of it less like a repost and more like a mini-feature.
The Basic Steps for Sharing to Your Story
Let's quickly walk through the basics. If the original post is from a public account, you can get it into your Story in just a few taps.
- Find the post you want to share in your feed.
- Tap the paper airplane icon right below the post.
- Select "Add post to your story" from the pop-up menu.
Instagram will then drop the post into your Story editor as a tappable sticker. You can pinch to resize it, rotate it, and drag it around. If you tap on the sticker, you can switch between a clean look and one that shows a bit of the original caption.
Pro Tip: By default, Instagram creates a color-gradient background based on the post's image. It's fine, but it’s generic. Taking a few extra seconds here is your chance to stand out and reinforce your brand.
Elevate Your Story Repost with Creative Customizations
This is where you shift from just sharing content to actually curating it. Transforming a basic repost into something that stops the scroll and adds value is a crucial skill for anyone managing a social presence.
Practical Example: Imagine a local boutique spots a customer's post wearing one of their new dresses. A simple share is nice. But a great share involves changing the background to the boutique's signature brand color, adding text like "Spotted in our new Spring Collection! ✨", and dropping in a "Shop this look!" sticker that links right to the product. That's how a customer shout-out becomes a sales driver.
How to Change the Story Background Color
Making a repost feel like your content can be as simple as changing the background. It's one of the easiest ways to create a cohesive brand aesthetic. Here's a go-to workflow for maximum productivity:
- Once the post is in your Story editor, tap the “Draw” tool (the squiggly line icon).
- Pick your brand color from the bottom palette. To save time, keep your brand's hex code in a notes app for easy access or use the eyedropper tool on a saved brand asset.
- Now, tap and hold your finger anywhere on the screen for a second or two. The whole background will fill with your chosen color, hiding the post sticker for a moment.
- Tap “Done,” then simply tap on the colored background. The post sticker will pop right back to the front.
This tiny trick makes a world of difference. It looks polished, professional, and intentional. If you want to get even more creative, you can dig into more ways to customize your Instagram Story reposts.
Boost Engagement with Interactive Elements
Don't just put the post in front of your audience; give them something to do with it. The Story editor is full of tools designed to get people tapping and engaging.
- Add Your Commentary: Use the text tool to give some context. Why are you sharing this? Is it a brilliant tip? A photo you love? A question you want your audience to weigh in on?
- Use Poll or Quiz Stickers: These are engagement gold. Share a post about a new feature and ask, "Are you excited about this?" or "Guess how much this costs!" It's a low-friction way to get a response.
- Tag the Creator (Again): Yes, the sticker already links back to the original post. But adding a separate, visible @mention with the text tool is a classy move. It gives the original creator more prominent credit and shows you genuinely appreciate their content.
Reposting to Your Feed With Native and Manual Methods
Sharing a post to your Story is perfect for a quick shout-out, but some content is just too good to disappear after 24 hours. When you find a post that deserves a permanent spot on your grid, you give it a much longer lifespan and weave it right into your brand's aesthetic.
There are a few ways to get this done, from Instagram’s own built-in feature to the classic screenshot method.
Using Instagram’s Native Repost Feature
Instagram’s native ‘Repost’ feature has made sharing content directly to your feed incredibly simple. Think of it like a retweet on X (formerly Twitter). With just a few taps, you can share a public post from another account directly with your followers.
The best part? Attribution is automatic and crystal clear. When you use this feature, the original creator's username is right there on the post, and it even gets collected in a dedicated ‘Reposts’ tab on your profile. This takes all the guesswork out of giving credit where it's due—a must for building good relationships on the platform.
Here’s how it works:
- Find a post you want to share from a public account.
- Tap the paper airplane icon below the post.
- If the creator has enabled reposting, you'll see a "Repost" option.
- Select it, and you're all set. The post will show up on your feed for all your followers to see.
Since this feature rolled out, its impact has been huge. For creators in major markets, we've seen reposted content drive 45% more profile visits and a 30% increase in follower growth on average. The algorithm seems to love it, pushing reposts to new audiences and building bridges between communities.
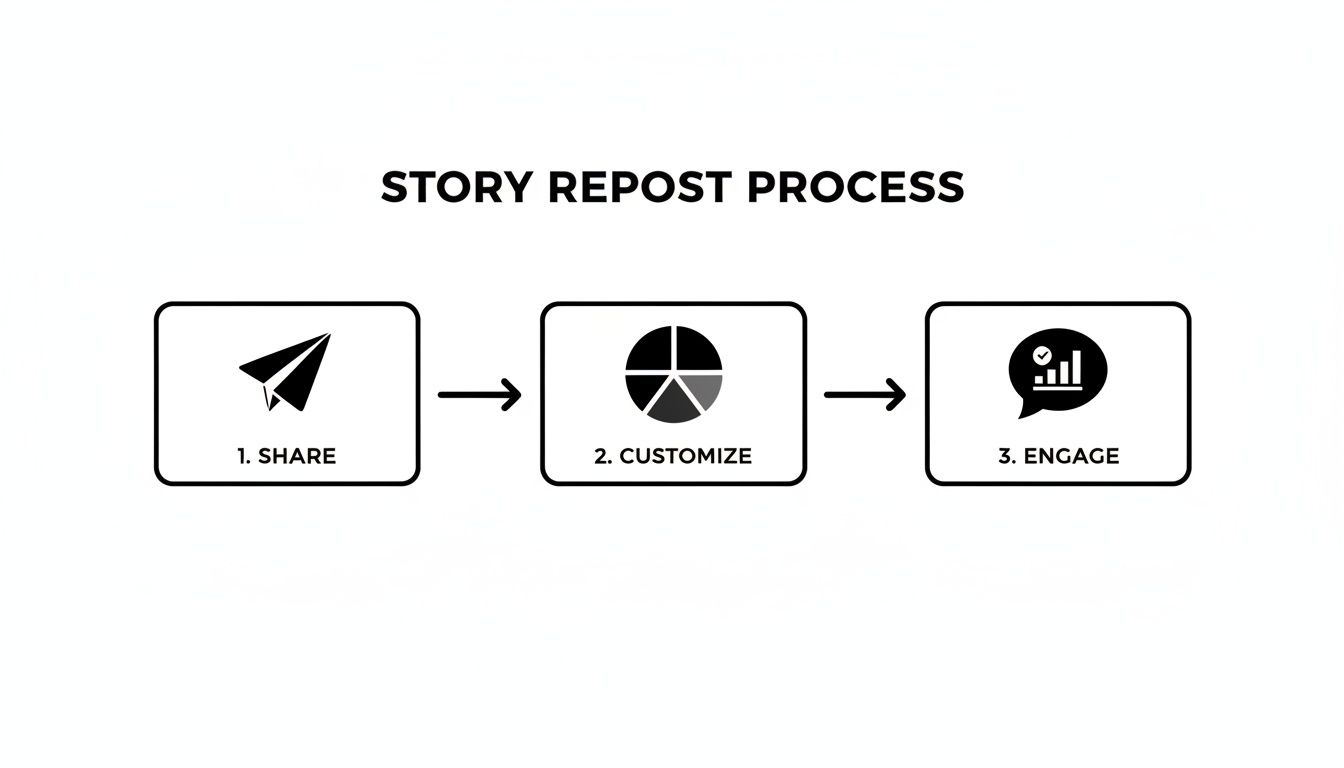
While the diagram above shows the Story-sharing workflow, the core idea is the same: Share, Customize, and Engage. This simple process is the foundation for turning any share into an interactive moment for your brand.
The Classic Manual Method: Screenshotting
What if a post doesn't have the native "Repost" button, but you have permission and still want to share it? That's when you turn to the good old manual method: taking a screenshot or screen recording.
This approach gives you total control over how the post looks on your feed, but it also means you have to be extra careful with attribution.
Practical Workflow Example: Let's say you're a designer who wants to share an inspiring Reel from a marketing expert. Here's a solid workflow:
- Get a high-quality capture. For video, start a screen recording before you hit play to get the best resolution. For images, a clean screenshot is all you need.
- Crop it cleanly. This is the most important step. Open the image or video in your phone’s editor and crop out every bit of the Instagram UI—the like and comment buttons, your phone's status bar, everything. A clean crop is what makes a repost look professional.
- Optimize for your feed. Make sure the final dimensions are right for Instagram. For videos, you'll want to check the latest Instagram video format and aspect ratio guidelines to avoid ugly black bars or awkward cropping.
Important Takeaway: When you repost manually, giving credit is 100% on you. There are no automatic safeguards. You have to tag the original creator in your caption and in the photo or video itself. Don't skip this.
Streamlining with Third-Party Apps
If the manual method feels a little too hands-on but the native feature isn’t available, dedicated reposting apps can be a good middle ground. These apps are built to simplify the process of downloading someone else’s post and prepping it for your feed.
Many of them automatically add a small attribution watermark to the corner of the media, which is a helpful visual cue for attribution. Just remember, a watermark should be a backup, not a replacement for a proper tag in the caption and the photo.
There are many great apps designed for this, such as Repost for Instagram. These tools can save time by handling the download and formatting process. For more details on their features and options, it’s best to visit their websites.
Optimizing Your Repost Captions and Hashtags
When you share someone else's content on Instagram, the visual is just the starting point. The single biggest mistake brands make is simply copying and pasting the original caption. Doing that turns a strategic share into just more noise on the feed.
The real magic happens when you add your own voice. Your new caption is the bridge that connects their content to your community. It’s your chance to frame the conversation and explain why this specific post matters to them right now.
Crafting a Caption That Adds Value
Your new caption doesn't need to be an essay, but it absolutely needs to have a purpose. You’re trying to show your audience that you're a thoughtful curator, not just an aggregator filling a content calendar.
Practical Example: Imagine a small business coach reposts a graphic from a financial advisor that says, "Your pricing is a reflection of your confidence."
Before (Just Copying): "Your pricing is a reflection of your confidence. #pricing #confidence #business" – This isn't terrible, but it's generic. It does nothing to engage the coach's specific followers.
After (Adding Value): "An amazing reminder from @financialadvisor! We talk a lot about mindset in our coaching sessions, and this hits home. How many of you have struggled to set prices that match the value you provide? Let me know in the comments. 👇 #pricingstrategy #smallbizcoach #knowyourworth"
See the difference? The "after" version adds personality, ties the repost directly to the coach's own services, and asks a question to get a conversation going. That small change transforms a passive share into an active engagement opportunity.
Key Takeaway: Always answer the question, "Why am I sharing this with my audience right now?" Your caption should provide that answer clearly and concisely, adding your voice to the original creator's content.
A Smart Hashtag Strategy for Reposts
Just as you rewrite the caption, you need to rethink the hashtags. Never automatically copy the original creator's entire list. A smart hashtag strategy for a repost is a blend of their relevant tags and your own.
This hybrid approach is the best way to maximize discoverability. Here’s a quick workflow for building a hashtag list for any repost:
Analyze the Original: Check the creator's hashtags. Pull 2-3 of their most relevant, high-performing tags that are directly about the post's topic. This helps you tap into the conversation they’ve already started.
Add Your Branded Hashtag: Always include your own unique branded hashtag (like
#PostfulTips, for example). This is non-negotiable for brand recall and helps group all your curated content.Mix in Your Niche Tags: Finally, add 5-7 of your go-to niche and community hashtags. These are the tags that reliably connect you with your target audience, making sure your repost reaches the people you want it to.
Following this method helps you honor the original content while ensuring it actually works for your brand's growth. It turns a simple share into a strategic asset.
Streamlining Your Repost Workflow With Productivity Tools
Let’s be honest: manually finding content, chasing down permissions, and scheduling every single repost is a huge time sink. It's a workflow that just doesn't scale, especially if you're a solopreneur or small business owner juggling a dozen other priorities. This is where the right productivity tools can make a real difference.
Good workflow optimization is all about getting rid of those repetitive tasks. The goal is to build a system that saves you hours every week, not just to find a slightly faster way to do the same manual work.
Beyond Reposting Toward a Smarter Content Strategy
The best tools don’t just help you repost. They help you build a smarter, more connected content strategy. For busy entrepreneurs, a tool like Postful is built to turn your work into more business by making it simpler to reach your audience.
Here’s a practical example. Imagine you're a side-hustle coffee shop owner:
- Find: Instead of scrolling for hours, Postful’s AI flags a top-performing Reel a customer posted that features one of your lattes.
- Remix: The AI then gives you ideas on how to remix that Reel. Maybe it suggests turning the video into a "Customer Spotlight" blog post or creating a carousel for LinkedIn that shows the power of community marketing.
- Schedule: From one place, you can schedule the original repost for Instagram, the new carousel for LinkedIn, and a draft for your blog.
You just turned one great piece of user-generated content into multiple growth opportunities across several platforms. That's the whole idea.
The goal isn't just to fill your content calendar. It’s to amplify what works and turn a single successful post into a powerful asset that drives business growth across your entire online presence.
This integrated approach is more important than ever. When Instagram officially launched its repost feature in August 2025, it gave creators a way to get content directly into their followers' feeds and a dedicated 'Reposts' tab on their profiles. Our early tests showed this sparked 20-30% more engagement for small businesses that consistently reposted customer content.
Tools like Postful, which is in free early access, make it even easier to capitalize on this. Our AI can suggest remixes of your best-performing posts and schedule them across your networks, all in one seamless flow.
From Manual Tasks to an Automated System
The real productivity win comes when you stop thinking in one-off tasks and start building a repeatable system. Instead of handling each repost by hand, a dedicated tool can centralize your entire content operation, blending original posts with curated ones.
Postful’s AI features and one-on-one support are designed to help you build that system. If you're looking to become more efficient, exploring some of the best free social media schedulers is a great way to start reclaiming your time.
By automating your scheduling and getting AI-powered ideas for repurposing content, you free up the mental space to focus on what actually matters—running your business.
Frequently Asked Questions About Reposting
Even after you get the hang of reposting, a few common questions always seem to pop up. Let’s clear them up so you can share content confidently, build good relationships, and stay on Instagram's good side.
Is It Legal to Repost Someone Else's Instagram Post?
Here's the short answer: you legally need permission from the original creator to share their work. When someone snaps a photo or records a video, they automatically own the copyright.
Manually reposting their content—especially just taking a screenshot—without their consent can be seen as copyright infringement.
My Advice: Always ask for permission before you do a manual feed repost. Getting a "yes" isn't just about protecting yourself; it's about showing respect and building genuine connections in your community.
Does Reposting Hurt My Engagement?
I hear this worry all the time. The answer is a firm no—as long as you’re strategic about it. If you’re just randomly sharing blurry or irrelevant posts, then yes, your engagement will probably take a hit.
But when you share high-value content that truly connects with your audience, it often gives your engagement a real boost. It positions you as a tuned-in member of your niche who provides value beyond your own creations. The trick is to always add your own perspective in the caption.
How Do I Find Good Content to Repost?
Finding great stuff to share is the cornerstone of a smart reposting strategy. The best way to do this is to build the habit of looking for it right into your daily social media routine.
- Check Your Mentions: Make it a point to regularly monitor your tagged photos and brand mentions. This is gold for finding authentic user-generated content (UGC).
- Follow Niche Hashtags: Keep a close eye on the hashtags that matter in your industry. You’ll see exactly what other creators, partners, and customers are talking about.
- Track Industry Leaders: Follow complementary businesses and thought leaders in your space. They often share valuable insights your own audience would love to see.
You don't need to spend hours on this. Setting aside just a few minutes each day makes finding great content feel completely manageable.
With Postful, you can turn your work into more business. Our AI-powered tool makes it simple to find, remix, and schedule your best content across all your social networks, so you can reach your audience and get back to what you do best. Get started for free on postful.ai.